
Cam & Jules x The Blue Space | Family Bathroom Reveal
Cam & Jules x The Blue Space Transforming a family bathroom into a beautiful retreat. This project takes a design-led approach, crafting a functional yet elegant space that caters to... Read more
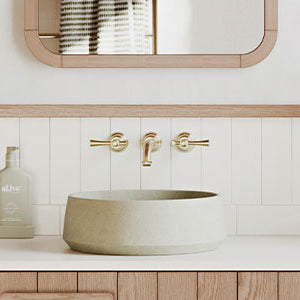
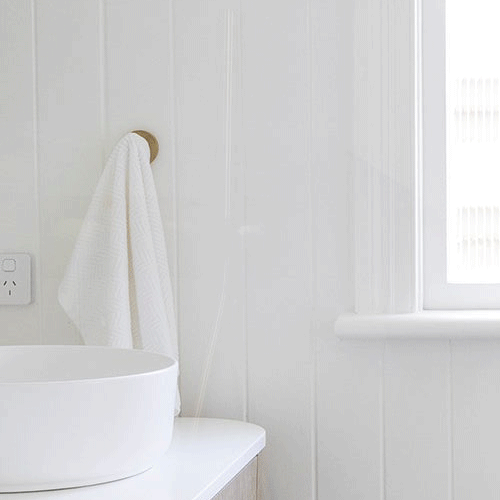
Small Bathroom Storage Ideas Do you have a Small Bathroom? Are you scrambling to find a designated spot for your towels, shampoo bottles, face creams and hairstyling tools? You’re not alone! Bathrooms, in general, can lack space but finding...
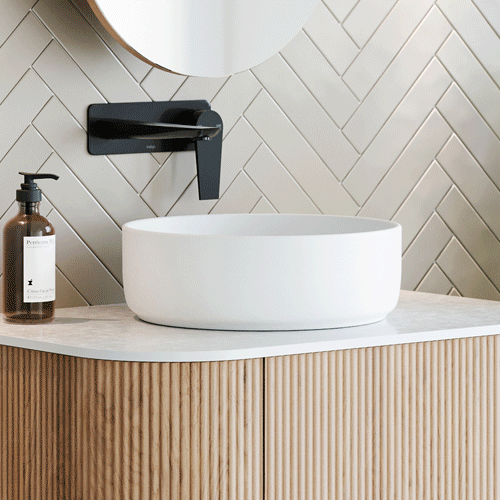
NaturalContemporaryDesign Welcome to the realm of Natural Contemporary design, where modern sophistication meets the soothing embrace of nature. At The Blue Space, we're here to guide you through the process of creating your dream home, starting with the heart of...
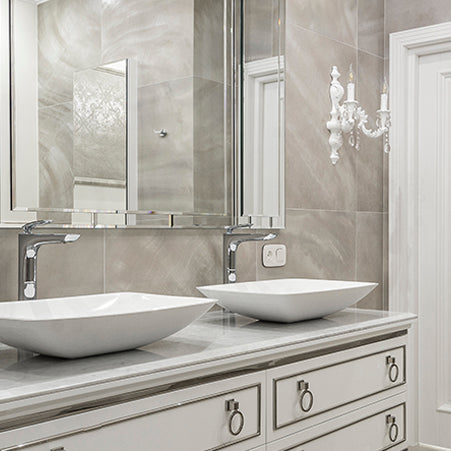
Traditional Style Bathoom A traditional bathroom is elegant, luxurious and, most importantly, timeless. To start, it's best to combine light, neutral walls with a simple, floor tile so you can build on your space from there. The key is to...

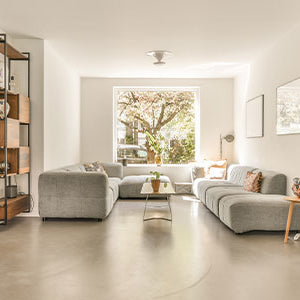

From Us to You: Our Top 10 Spaces to Celebrate 10 Years "Over the past decade, I’ve had the privilege of watching spaces transform into something truly extraordinary. Seeing how design trends evolve and how people’s personalities shine through their...

Bathroom Design Trends 2025 As we approach 2025, bathroom design continues to evolve, blending functionality with artistic expression. Here are the key trends shaping modern bathrooms. Statement Fixtures & Sculptural Elements Vanities and bathtubs remain at the forefront of...

6 Tapware Design Trends You’ll Be Seeing in 2025 As we head into 2025, the world of tapware continues to evolve, bringing fresh styles, innovative technology, and sustainable solutions to the forefront of bathroom and kitchen design. Whether you're planning...
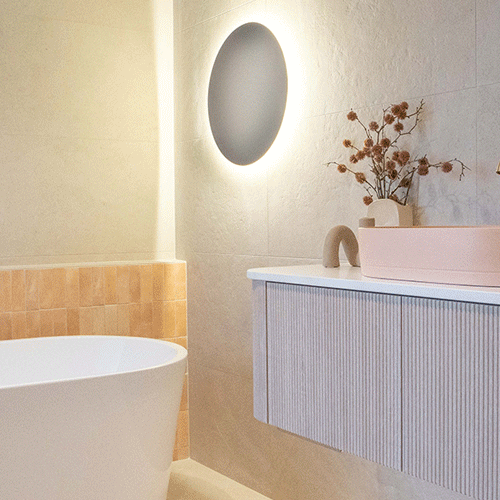
2024Bathroom Trends Designers in 2024 are crafting bathrooms that transcend the mundane, offering a harmonious blend of functionality and artistic expression. I have seen so many beautifully curated renovation ideas coming to life in 2024, and it's so exciting! Grace,...

The Block 2024Laundry Reveals Explore this weeks laundry reveals on Channel 9's The Block 2024, featuring striking tile choices, clever storage options and beautiful tapware, sink and cabinetry finishes. Courtney and Grant The natural stone in this laundry radiates...

The Block 2024Guest Bathroom by Maddy & Charlotte "To produce this standard, I think it's absolutely remarkable. Remarkable!" Shaynna Blaze, The Block 2024, Channel 9. Our top 5 favourite features The gorgeous tiles One of the first things I...

The BlockKitchen Reveal by Kylie & Brad Sultry, Moody and Sexy! Shaynna Blaze, Channel 9, The Block Our top 6 favourite features Brushed Gold: A touch of luxury The brushed gold tap commands attention as a centerpiece, standing out...

The Block Main Ensuites A perfect Phillip Island main ensuite bathroom reveal by The Block week three winners, Courtney and Grant. *All images are sourced from Channel 9's The Block | @channel9 @theblock "It's got a very muted palette but...

The Block Guest Bedroom Week A 'Next Level' guest bedroom reveal by week two winners, Kristian and Mimi. *All images are sourced from Channel 9's, The Block | @channel9 @theblock "They're paying homage to that beautiful island lifestyle but in...

The Block Bathroom Week A Tranquil Beachy bathroom reveal by The Block week one Winners, Kristian and Mimi. *All images are sourced from Channel 9's, The Block | @channel9 @theblock "This truly is a proper family bathroom where we won't...

Modern GlamBathroom Trend "Transform your bathroom into a sanctuary of sophistication and style with our take on Modern Glam bathroom design. This stunning bathroom space, adorned with green and gold hues, embodies bold and vibrant elements with luxurious accents, creating...
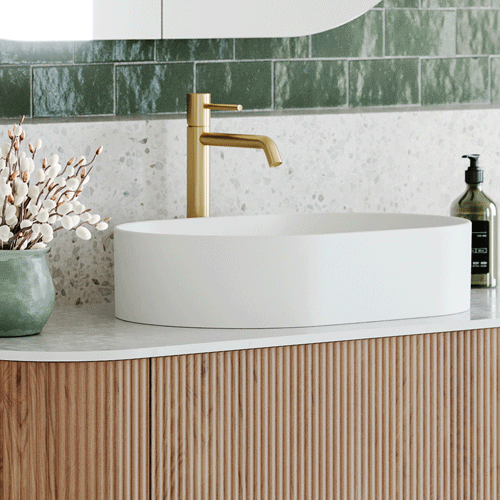
Bathroom Tile Trends 2024 In the world of bathroom design, 2024 is set to embrace stronger patterns, luxurious materials, and richer colour palettes. This year, expect to witness bolder marble look options, playful colour palettes, and softer neutral tones gracing...

Embracing the Serenity of Modern Australian Bathroom Design "In the realm of interior design, the Modern Australian style stands out for its effortless blend of natural beauty and contemporary aesthetics, creating spaces that are both serene and sophisticated. Through the...

A Tranquil Coastal Retreat with Japanese Elegance "This style marries the serene, functional elements of Japandi style with the light, airy, and nautical influences of Coastal design. The result is a harmonious and tranquil space that evokes calm, serenity, and...
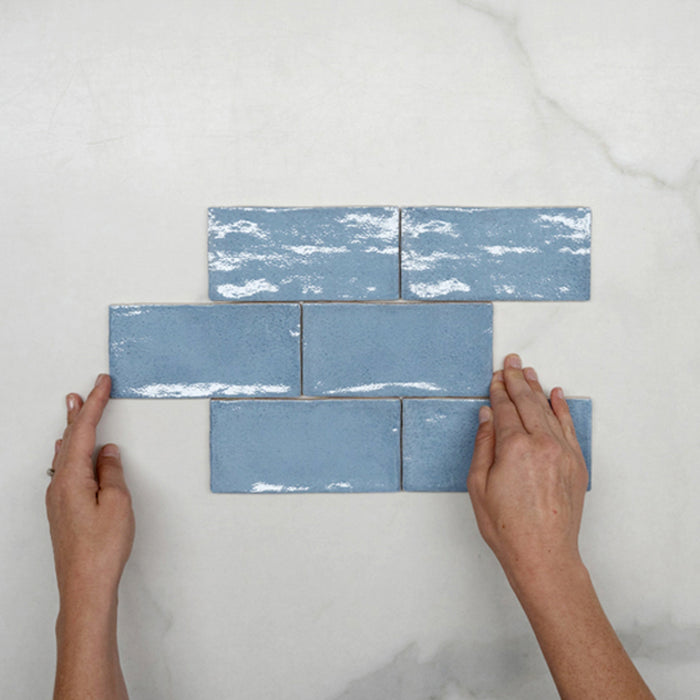
Feature Tiles A key design element that enhances the overall atmosphere of a room. Choosing tiles for your home provides a unique opportunity to infuse personality and style into your living space. Opting for playful and fun tile choices not...
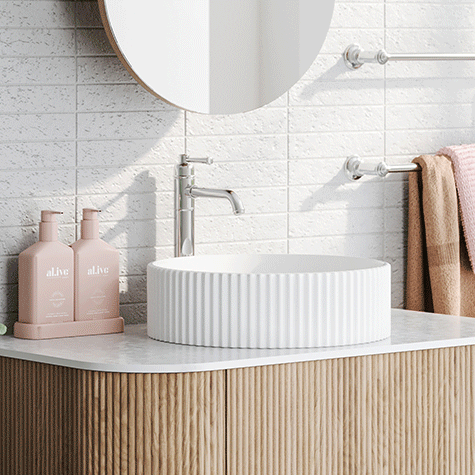
Elevate Your BathroomModern Romantic Charm "The space exudes a serene ambiance with soft pastel hues, complemented by a rich timber vanity and textured white brick tiles for an airy, spacious feel. Grounded by subtle grey floor tiles, it embraces simplicity...
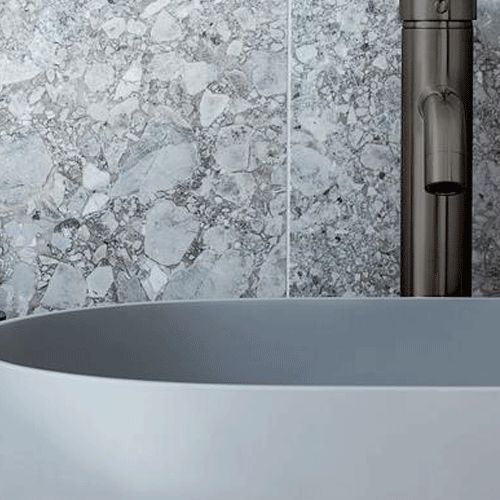
Create a Luxurious Bathroom Space There is nothing quite as relaxing as the luxurious look and feel of hotel bathrooms or spas. The entire atmosphere is soothing and serene, even if the décor is quite simple. Adding some of that...
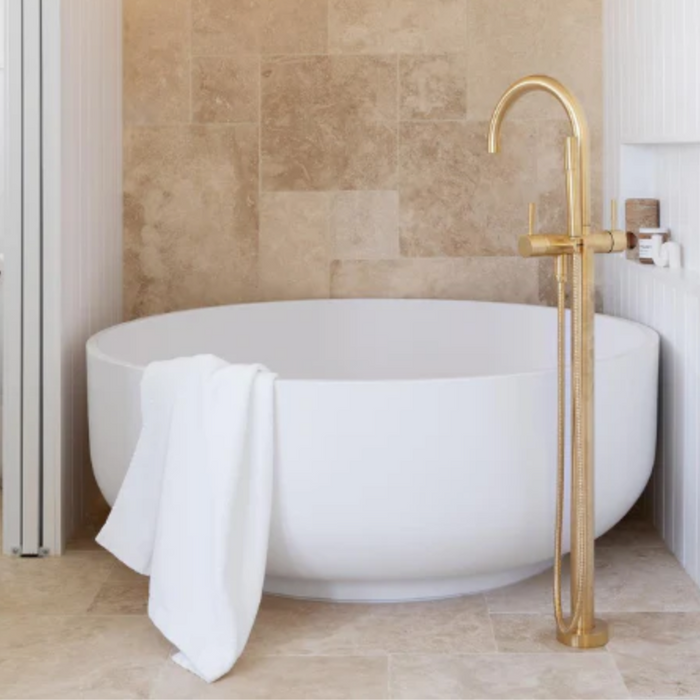
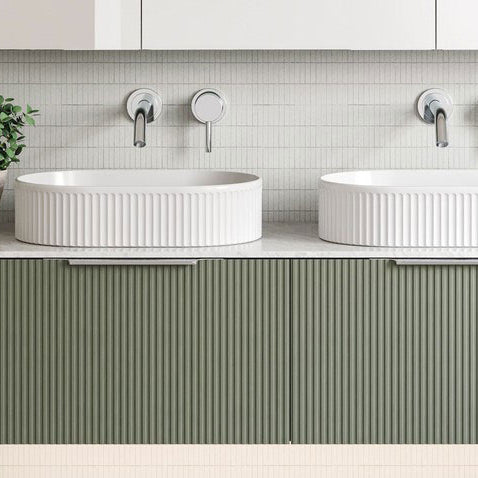
Plants for your space! Our top 10 plant picks for your bathroom Bring the outside in and create a sense of calm and peace in your bathroom with some lush greenery. Plants not only add a decorative touch but they...

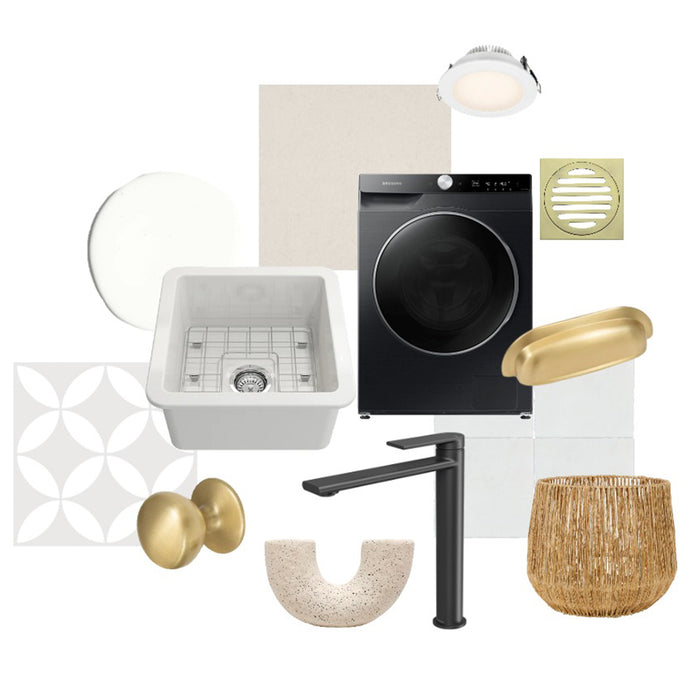

Kitchen Week For the second week in a row, Tom and Sarah-Jane have takenout yet another win for their kitchen and butler's pantryand this time - with a perfect score from the judges! Tom and Sarah-Jane went for a warm...
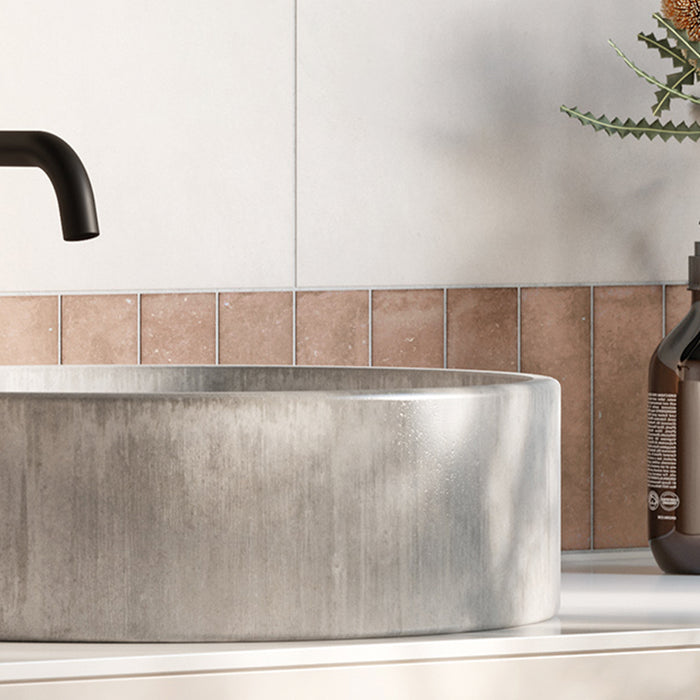
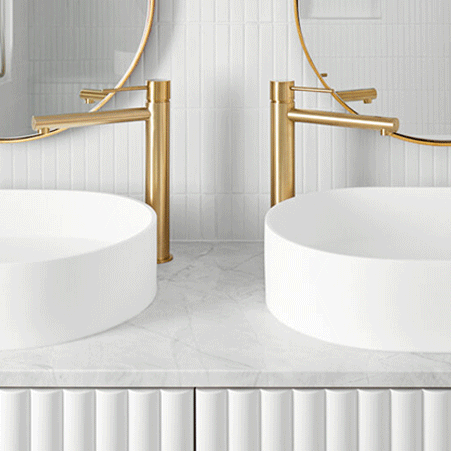
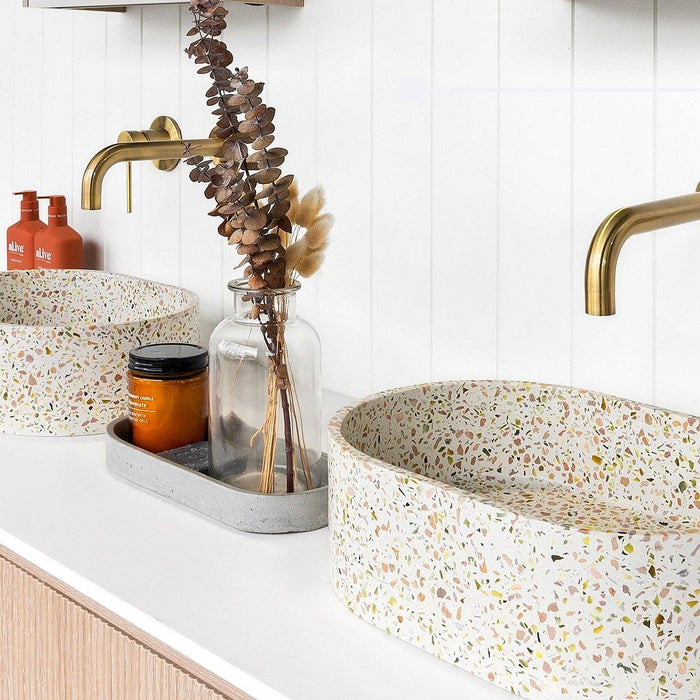


DIY Bathroom Renovation: What You Can Do Yourself and What to Leave to the Professionals Renovating your bathroom can be a rewarding project, but it’s essential to know which tasks you can handle yourself and which ones are best left...
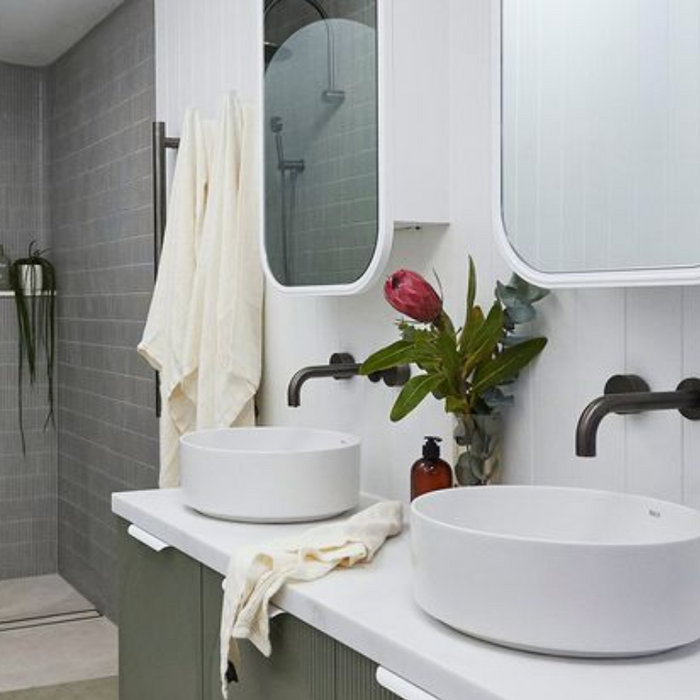
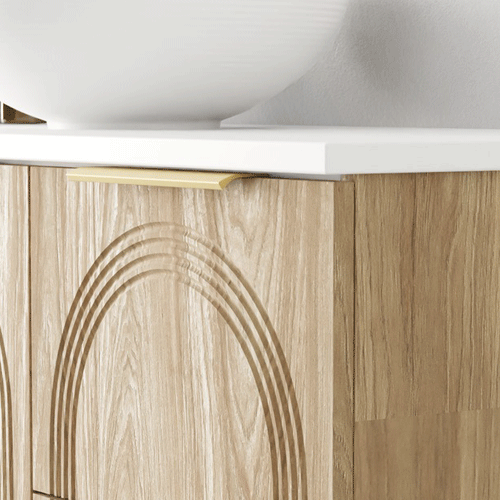
Our Guide toChoosing the Right Vanity Embarking on a bathroom renovation or construction project? Look no further than the vanity, the focal point that sets the tone for your entire space. With a myriad of sizes, styles, and designs available,...

Find the perfect tradiefor your upcoming reno Renovating your bathroom, kitchen, or laundry is an exciting journey, but finding the right tradie can make all the difference between a smooth transformation and a renovation nightmare. Whether you need a plumber,...

Transform your laundry, without breaking the bank The laundry room is one of the most used yet often overlooked spaces in a home. A renovation doesn’t have to be expensive to make a big impact! Here are some budget-friendly laundry...
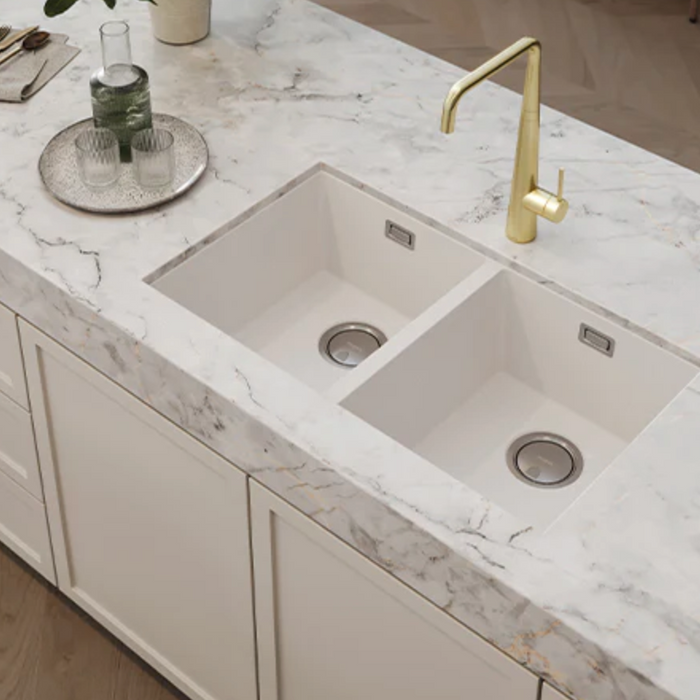

Key Design Insightsfrom Interior Designer, Joanne Our in-house interior designer, Joanne, is passionate about the latest trends and innovative products that elevate bathroom design. We sat with Joanne to talk about her favourite features and brands, let's dive in! Bold...

7 Steps for Designing the Perfect Bathroom Are you renovating a bathroom? This is a must-read with all the tips and tricks from Rebeka Morgan at BuildHer Collective in collaboration with The Blue Space! Designing a bathroom can be...
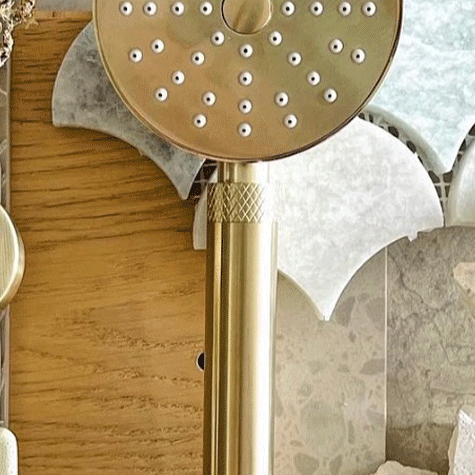
Add Value To Your Home WithTiles Ever walked into a home and instantly felt a sense of luxury, even without high-end appliances or designer furniture? Turns out, the secret lies in tiles. Whether it's a stylish kitchen backsplash or a...
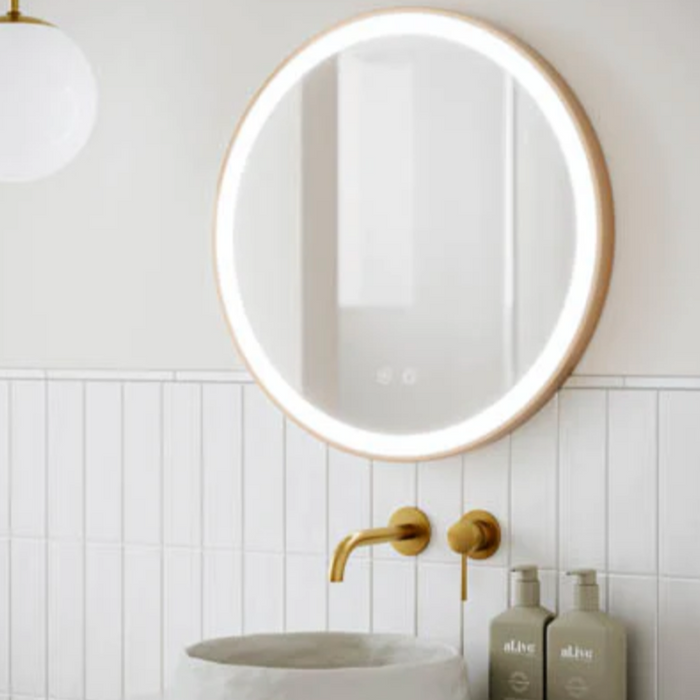
Double up on Bathroom Basins Double Sink Advantages The first picture which comes to mind when you think of a double sink is the kitchen. It offers distinct benefits while washing dishes. But did you know that a double...
Get your home ready for guests Small update ideas for your bathroom, living, bedrooms and kitchen. Without undergoing a major overhaul, there are some inexpensive and easy upgrades you could do to bring your home back to life. Your bathroom...

A Gift GuideFor Renovators "Looking for the perfect gift to complement a newly renovated space? Our gift guide for renovators has you covered—stylish ideas for every corner of the home." Our Favourite Gifts for Renovators Our favorite gifts for...
Our Guide: Bathroom Heating & Exhaust Those long, luxurious showers that you enjoy so much to wash away the tiredness from the body may actually be taking their toll on your bathroom. All that humidity and moisture collected in the...
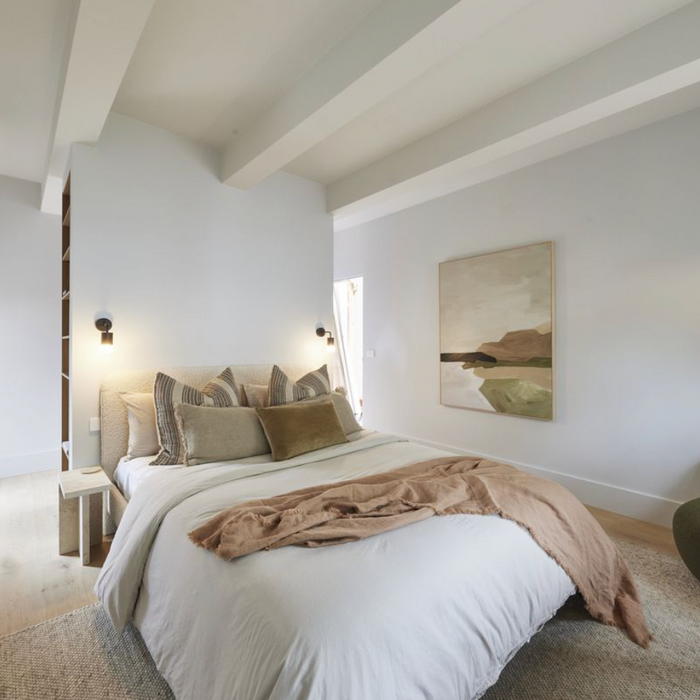

Save MoneyOn Your Bathroom Renovation We are all feeling the pinch! Designing your dream bathroom doesn't have to break the bank. With careful planning and smart choices, you can create a beautiful and functional space that fits your budget. Here...
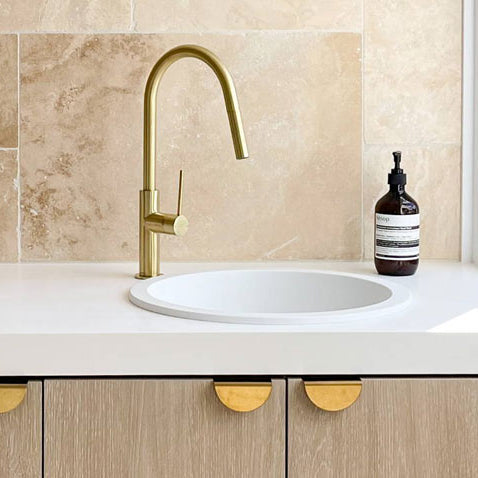
What you need to know for your Laundry Reno The Laundry is often the most neglected room in the house. If you are planning to remodel your laundry and wish to get the maximum output from this space, then read...

How to Plan a Bathroom Renovation Planning a bathroom renovation can be an exciting yet overwhelming task. With careful planning, budgeting, and execution, you can transform your bathroom into a beautiful and functional space. Here’s a step-by-step guide to help...

How ToChoose an Interior Designer Choosing an interior designer can be a daunting task, but with the right guidance, you can find the perfect match to bring your vision to life. Here at The Blue Space, we’ve compiled our top...
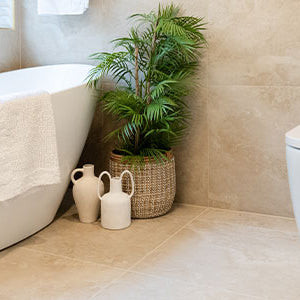
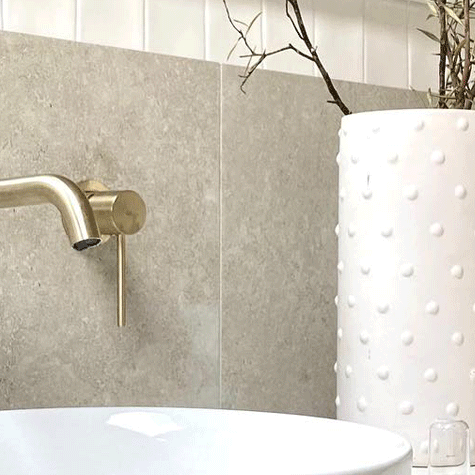
Renovate with The Blue Space Embarking on a home renovation journey is both exciting and daunting. You're faced with a blank canvas and the task of bringing your vision to life. At the core of every renovation lies the pivotal...
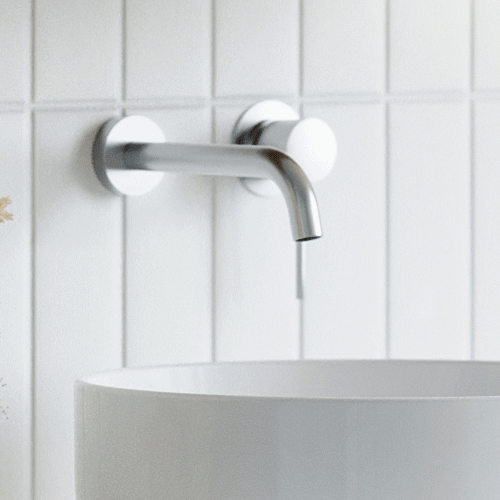
How toRegrout Your Tiles When tiles are first installed, you have probably noticed and admired how crisp and clean everything looks. The grout is full and the colour consistent, creating a seamless design. Yet, over time, this doesn't always stay...
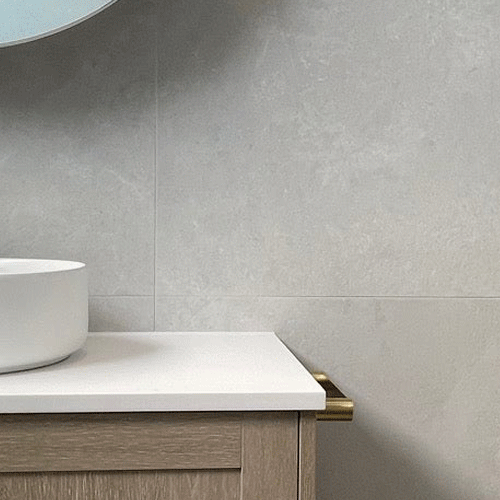
How toRenovate on a budget So your bathroom needs a renovation but your budget won't stretch. Don’t worry, you don't need to spend too much renovating your bathroom if you do it right. Stick to these tips, and you can...
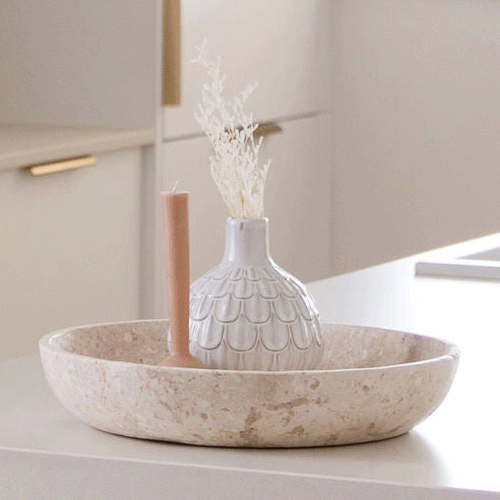
The ultimate guide to Cabinet Handles DIY Cabinet Handles As you know, renovating comes with MANY decisions that need to be made. Choosing your cabinets or vanities are one of the biggest decisions, but it doesn’t stop there… you’ll...
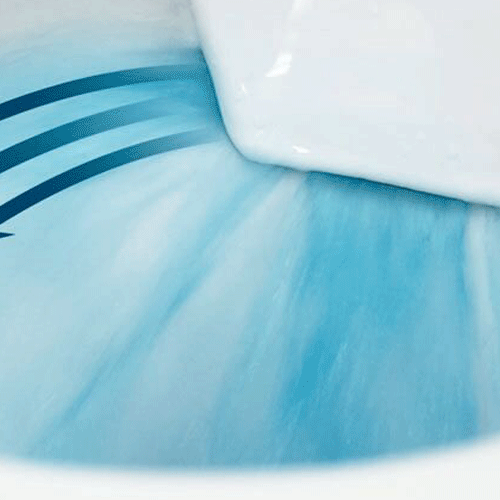
What you need to know aboutRimless Toilets A rimless toilet doesn’t have the rim design that is found on a traditional toilet pan. The flushing system shoots the flushed water towards the edge and around the toilet bowl. This clever...
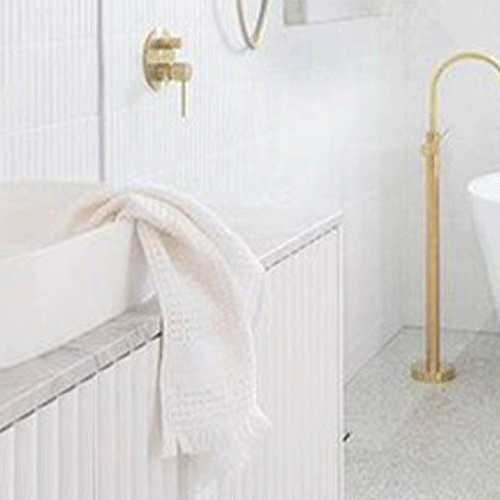
Master BathroomReno Tips Whether you are planning master bathroom renovations to increase your home’s value or to take more luxurious baths, it’s something that needs lots of planning. Bathroom renovations are exciting but nerve racking if unplanned. So here...
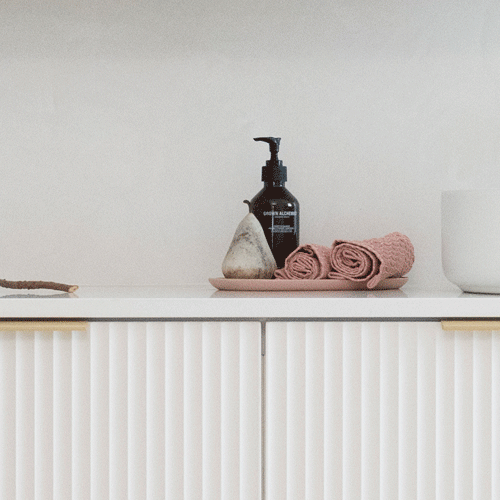
5 Ways to add value to your next bathroom reno Add Value to your home If you’re wondering what is the best way to add value to your house, a bathroom renovation is a great place to start! Bathroom...
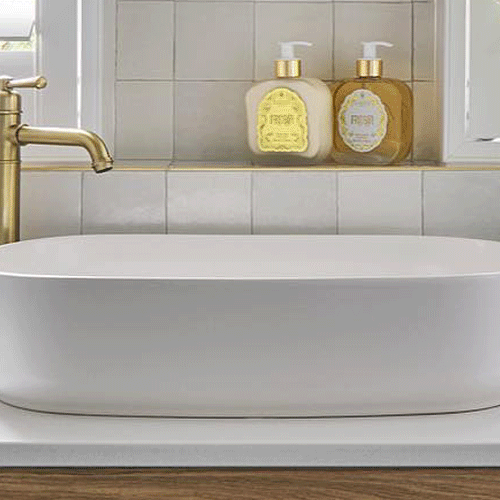
Bathroom Sink Buying Guide Are you looking for your new bathroom sink? With so many sizes, shapes, colours and materials to choose from, there’s no denying we’re spoilt for choice.Here at The Blue Space, we understand having so much variety...
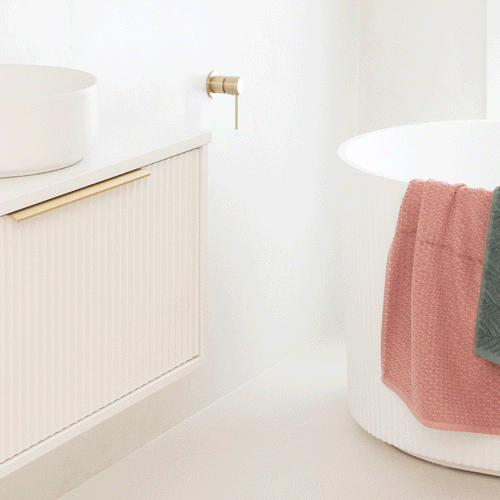
Our GuideBaths & Spas If you are remodeling your bathroom and wish to add a new bath, you can choose from different bath types and spas that are available in the market. A new bath tub can transform a purely...
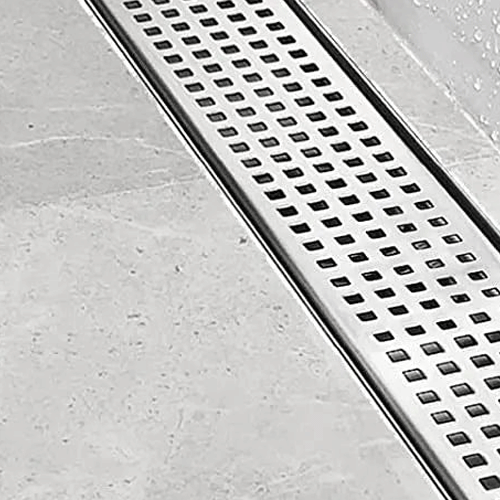
BathroomDrain Advice When diving into a bathroom renovation, it's easy to get swept up in the visual allure of stylish designs, color schemes, and luxurious tubs. Yet, amidst these considerations, the importance of bathroom drainage often takes a back seat....
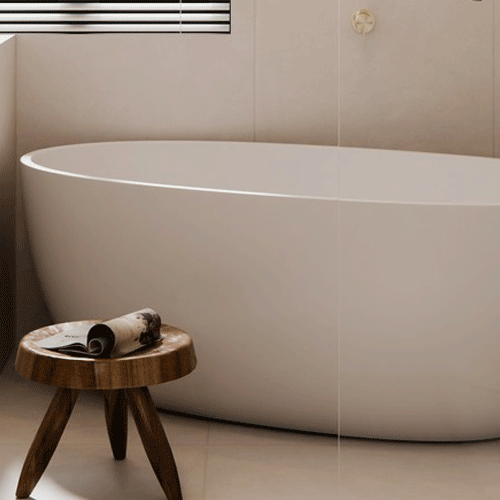
Measuring is key for the right size bath Have you been contemplating shopping for the baths luxury home magazines feature all the time? The stone baths luxury homeowners want are those that fit perfectly in their bathrooms. You can only...
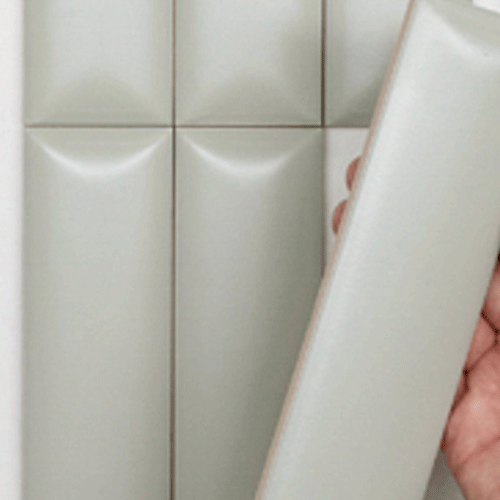
Simple Steps to Clean Tiles It would be wonderful for our bathrooms to remain shine and grime-free, but in reality, that’s not always the case. Bathrooms are a frequently used space and are bound to get dirty real fast if...
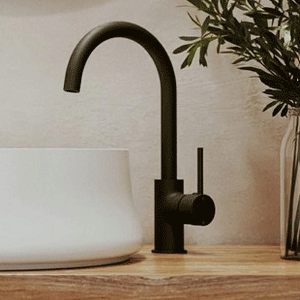
How to Change a Mixer Tap In three simple steps Step OneUndertsand the plumbing situation The key to a successful change over is to know how the mixer taps are fitted and plumbed. The questions to ask yourself are:...
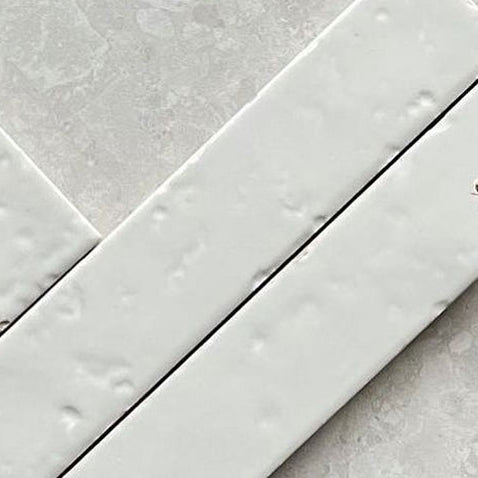
Everything you need to know about Tiles Tile Slip Resistance Rating One of the most important aspects of choosing your new tiles is the Slip Rating. These have been designed to make your life a little bit easier when deciding...
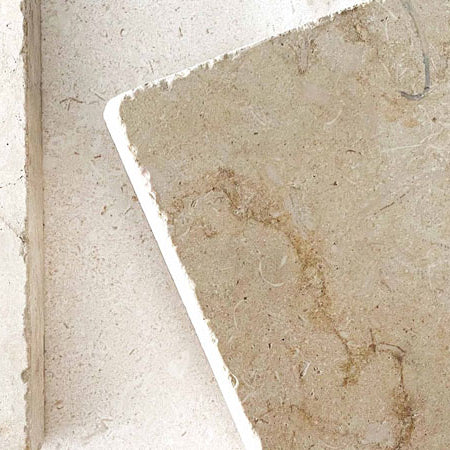
Tile Slip Rating What each rating means and how it influences your tile selection. When it comes to choosing tiles for your living spaces, one aspect that often takes precedence is the slip resistance. Understanding the slip resistance ratings is...

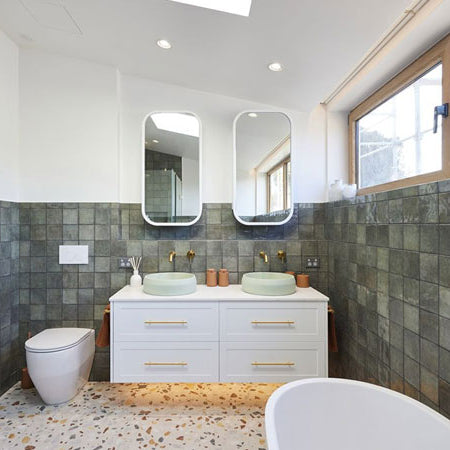
The Block Final Bathroom Reveal Stunning Bathroom Transformation by Eliza and Liberty The Block 2023 final bathroom reveals deliver show-stopping designs! Going Green! These basins infuse a sense of nature and tranquility into your bathroom space, transforming it into...
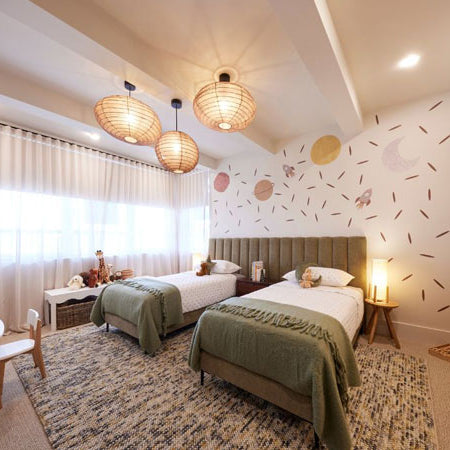
Kids Bedroom Reveals A triumphant win for Steph and Gian on The Block. Transform your kids bedrooms Japandi Elegance in Kids Bedrooms The room boasted a subtle colour palette, impeccable pendant lights, a bedhead emblematic of Japandi aesthetics, and a...
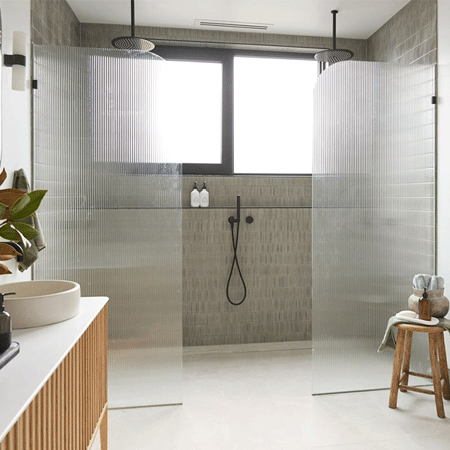
Master Ensuite Week on The Block Elevate Your Ensuite: Discover Top Tips for Renovation Success! "A master ensuite bathroom is not just a place for cleansing the body; it's a sanctuary for cleansing the soul" The appeal of a fluted...
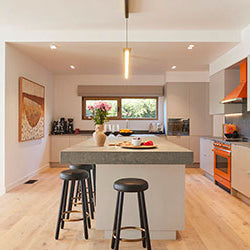
Kitchen & Dining Week on The Block Crafting the perfect kitchen: Our top 5 tips for your dream space The Block never fails to inspire us with its stunning room transformations, and this week'sepisode left us awestruck by a kitchen...
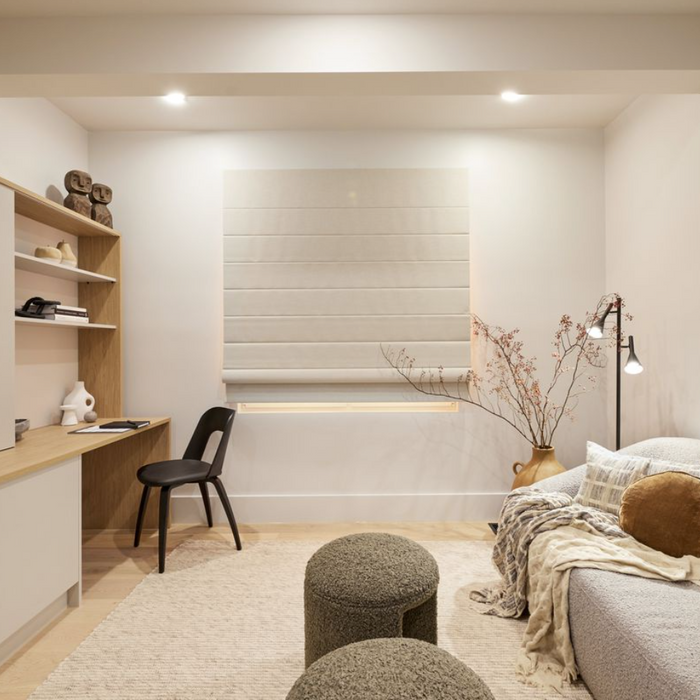
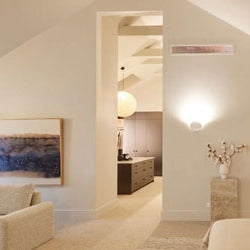
Master Bedroom Week on The Block If you've been contemplating a Master Bedroom makeover, Week six on The Block will have you swooning with ideas for walk in wardrobes, makeup stations and relaxation spaces. Our Blue Space Interior Designer shares...
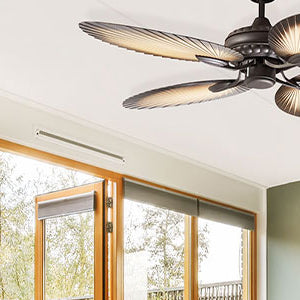
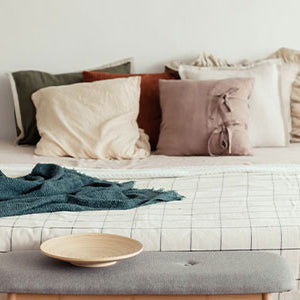

Meir Colour StorySeamless Design from Tapware to Cabinetry When it comes to home design, consistency is key. From the moment you step into a space, the details should feel intentional and cohesive. Meir, known for its luxurious coloured tapware, has...

How to choose the right plug & waste for your basin If your basin does not include or come recommended with a manufacturer’s matching plug & waste, trying to select one yourself can feel like wading in murky sea water. We...

How to choose the right plug & wastefor your bath We recommend that if you are not 100% certain of any of the following steps, you consult with your plumber before making a purchase. Selecting a plug & waste for...

The Ultimate Coastal BathroomNero Zen Collection "Introducing the Nero Zen Collection—our meticulously crafted outdoor range, designed to transform your outdoor space into a sanctuary of health and safety. Featuring premium 316L stainless steel, Zen delivers outstanding weather resistance and corrosion...

Caroma Urbane II Universal Accessories Introducing the Caroma Urbane II Universal Accessories: Elevating Bathroom Design for safety and style. The Caroma Urbane II Universal Accessories collection is the latest addition to the popular Urbane II range, offering a stylish...


Nero Zen A beautiful new outdoor Collection, designed to withstand the Australian environment. What is SS316L? SS316L is a low-carbon version of stainless steel 316, known for its excellent corrosion resistance, particularly in coastal environments. Outdoor Luxury Nero's new...

Eight QuartersConcrete Basins Eight Quarters' Concrete Collection is a unity of industrial chic and modern elegance combining striking beauty with practicality. Their selection of colours and designs are the perfect statement piece.Michaela, Interior Designer, The Blue Space What we love...

IntroducingThe NEW Vanity Visualiser Tool Transform Your Bathroom Design Experience with The Blue Space's Revolutionary Vanity Visualiser Technology The Blue Space is excited to announce the launch of its innovative Vanity Visualiser technology, a game-changer in the world of bathroom...

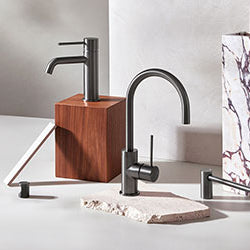
Phoenix: A Brand Story Crafting elegance in every drop. The Phoenix journey commences with a modest start in the 1980s, led by Brian Wansborough, a distinguished figure in the construction and hardware sector. His vision was to pioneer the production...
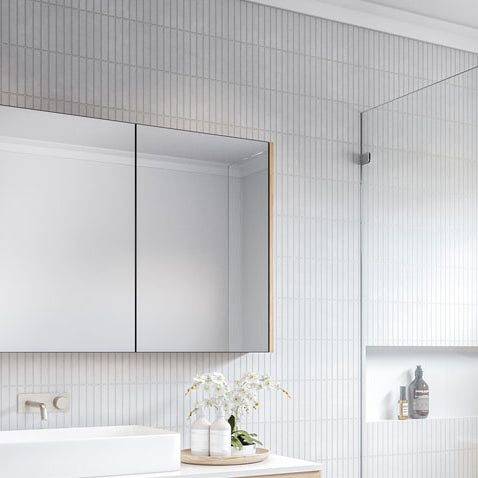
Types of Bathroom Mirrors Mirrors are an essential component in any bathroom as they uniquely transform your space, not only aesthetically but also functionally. They’re useful when it comes to brushing your hair, checking your pearly whites or taking a...
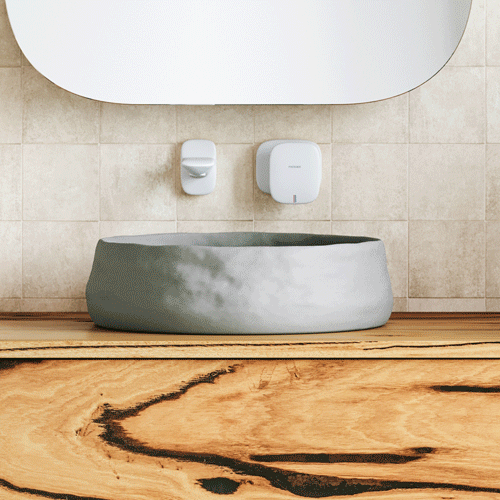
A Brand StoryIngrain "Our mission is to elevate the spaces you inhabit by providing unique and quality products that speak to your individual style." Eco-Friendly Elegance Ingrain is an Australian owned and locally designed brand that celebrates the beauty...

Meir x Darren PalmerLustre Bronze “It’s a range that epitomises elegance, innovation, and timeless luxury, and issomething I’m incredibly proud of.” Darren Palmer Introducing the Lustre Bronze Range Introducing the captivating Meir Lustre Bronze Collection, a collaboration with renowned designer...
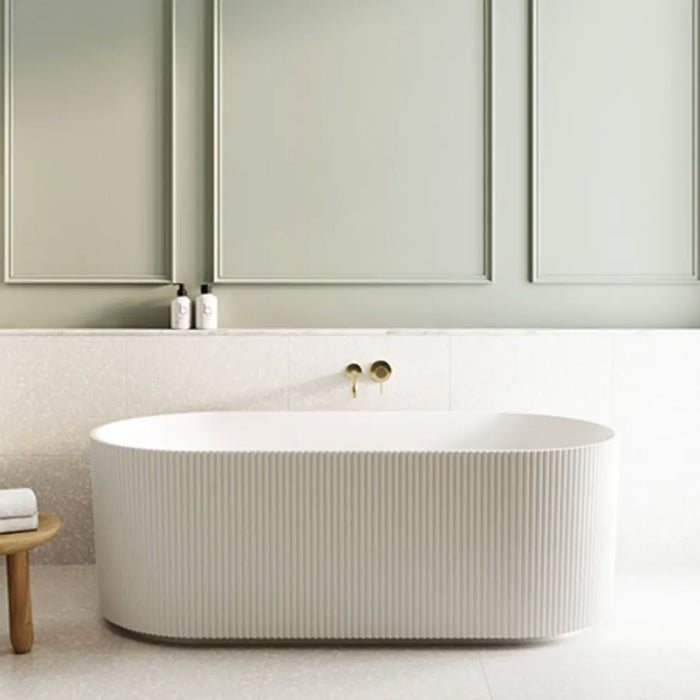
Create a Scandi Luxe Style Home and Bathroom with Baö Bath If you're drawn to the minimalist elegance of Scandinavian design but crave a touch of luxury and sophistication, then the Scandinavian Luxe style is the perfect blend for your...
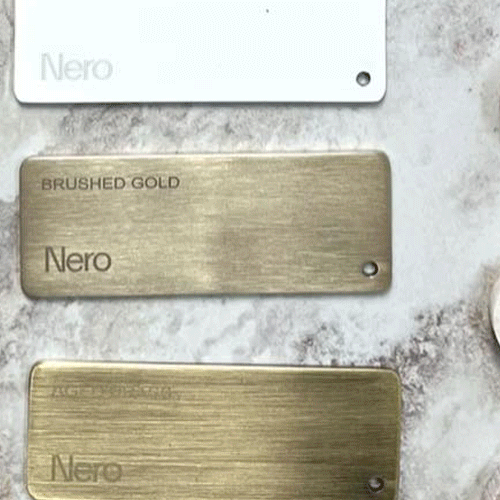
Nero TapwareA spectrum of style Explore Nero's Colour Story In the realm of interior design, the coloured tapware trend has emerged as a captivating and transformative force. Homeowners are now embracing coloured tapware, offering endless possibilities for creating unique and...

Introducing the reimagined CaromaMade for Life "As a leading Australian brand proudly stocked by The Blue Space for many years, we are excited to share the journey of Caroma's remarkable brand transformation. The iconic Caroma brand, now refreshed and reinvigorated...
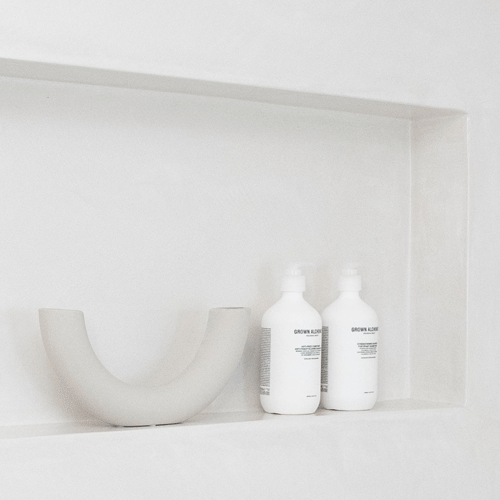
Our Guide toShower Niches Shower niches have become a popular trend in recent years and there’s a perfect reason why – they’re practical, yet are a creative and stylish use of space. If you live in a large household, then...
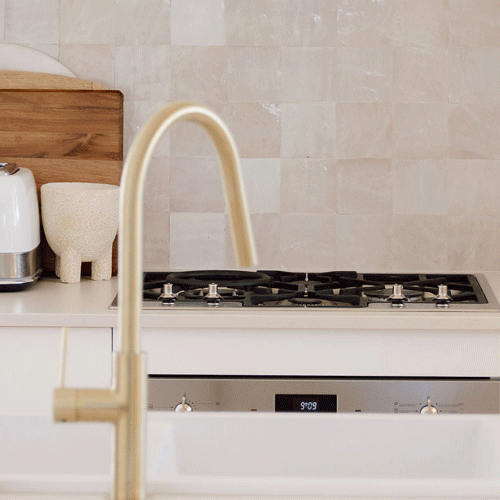
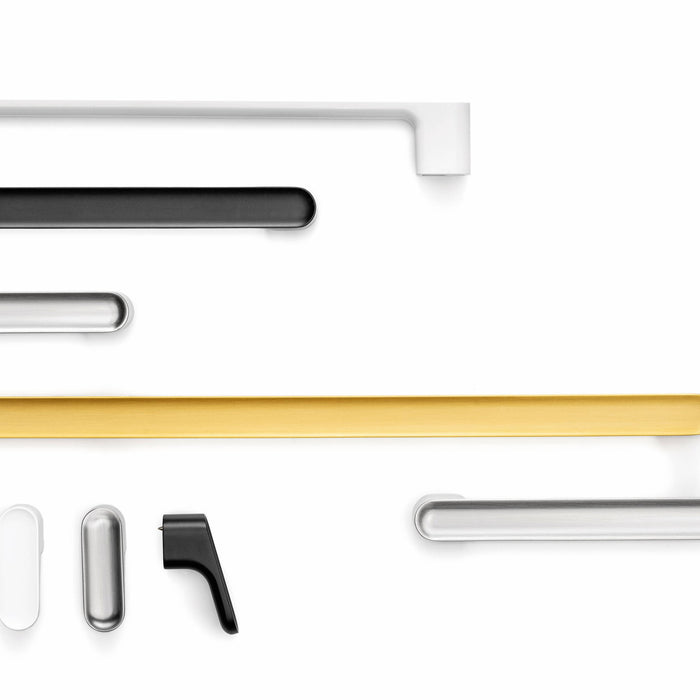
Momo HandlesA Brand Story Ever Changing Design When it comes to kitchen and cabinet handles, Momo Handles is a brand that should be on your radar. Launched in 2008 with a mission to create a range of handles that were...
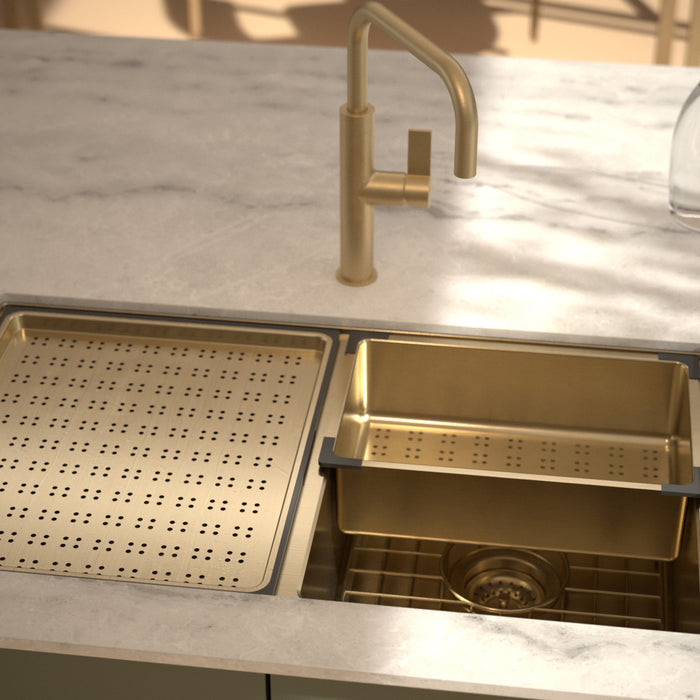
Kitchen Upgrades Caroma's beautiful range of Kitchen products Crafted with precision and durability in mind, Caroma sinks seamlessly blend style with practicality, catering to the diverse needs of homeowners. Kitchen Sinks Traditionally recognised for their premium stainless steel sinks,...
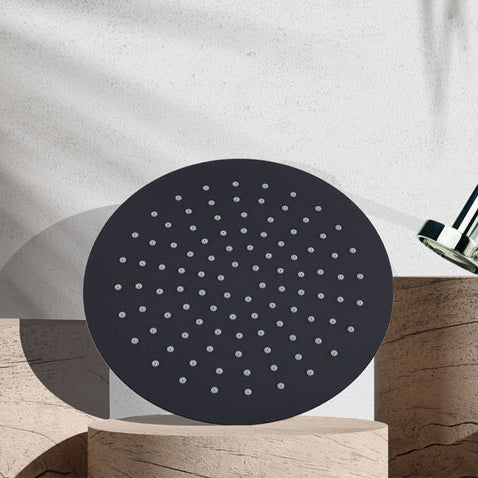
Indigo Where simplicity meets sophistication in the sanctuary of your home - the bathroom. Indigo set out to rewrite the narrative. The brand was born out of a simple yet profound idea: to bring beauty to the bathroom without breaking...
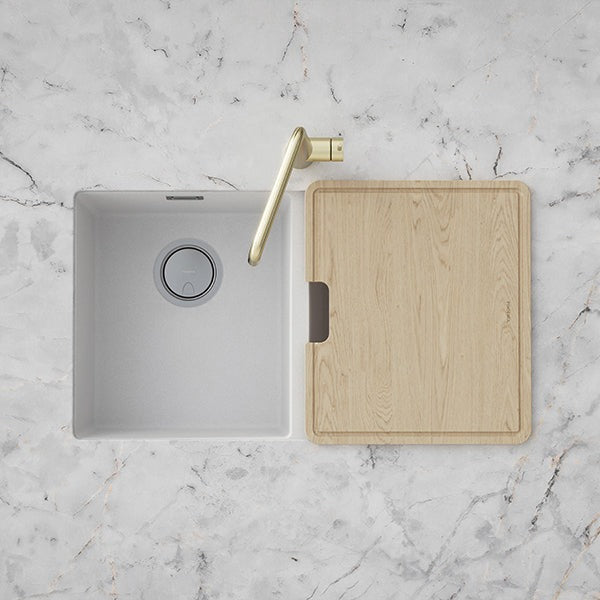
Why buy a stone sink? Composite or granite sinks are sometimes referred to as Quartz sinks. Over time these sinks will likely replace stainless steel sinks, particularly for domestic use. They are available in White or Black (aka Onyx or...
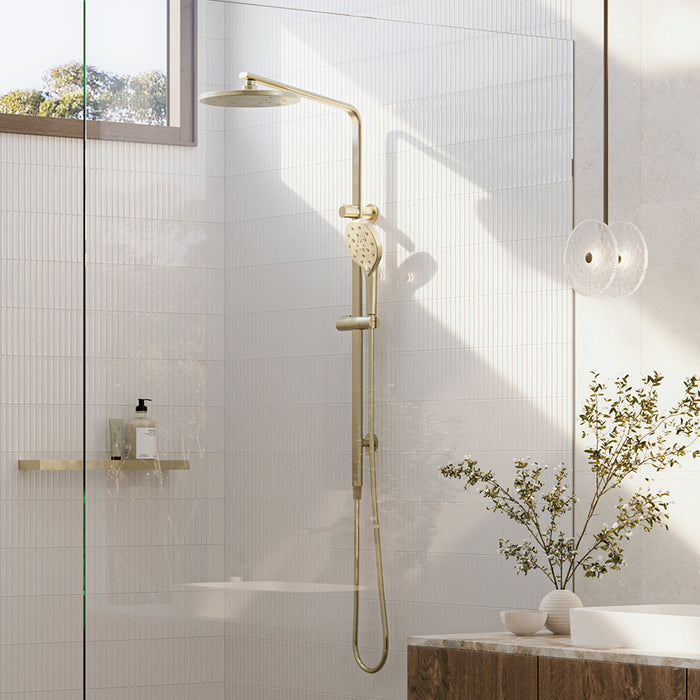
Phoenix Tapware Unveils a Revolutionary Breakthrough: Redefining Water Flow and Design with Spectacular New Innovation! Phoenix Tapware Unveils Breakthrough Redefining Water Flow and Design with Spectacular New Innovation! Phoenix Tapware LuxeXP™ Collection The LuxeXP™ spray pattern is a marvel of...
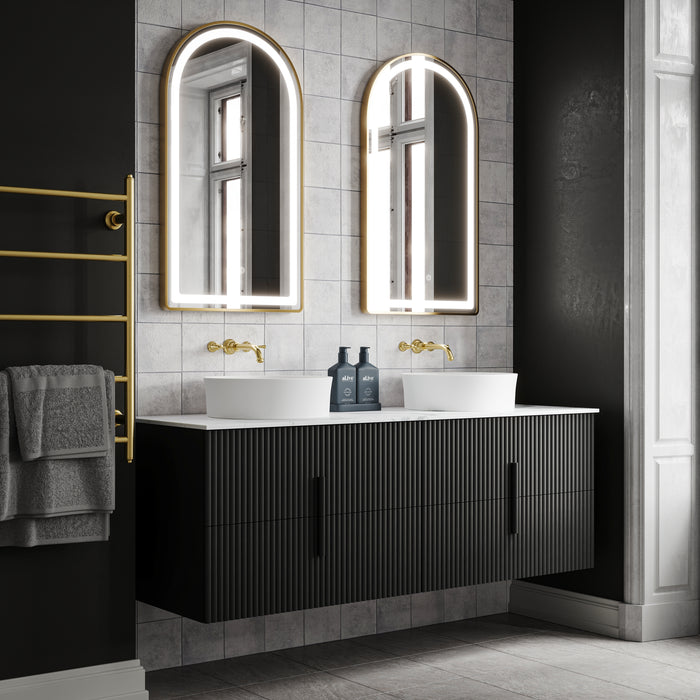
Ingrain Contoured Vanity Experience elegance with a gracefully contoured vanity design Indulge in opulence with the Ingrain Contoured Wall Hung Bathroom Vanity, elevating your space to a hotel-inspired luxury for an exquisite bathing experience. Ample storage for your bathroom ...
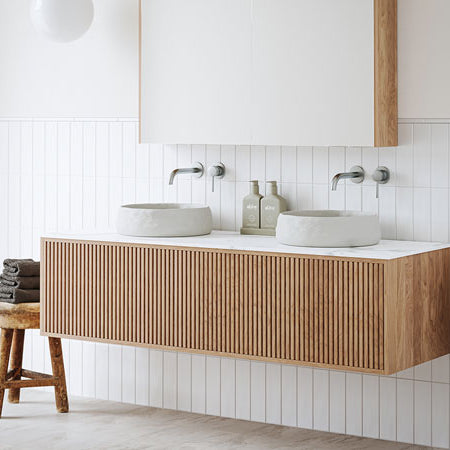
Ingrain Grooved Vanities Crafting a luxurious ambiance through textured design excellence The recent surge in popularity of fluted vanities in interior design and home decor has taken the world of bathroom aesthetics by storm. This trend revolves around the incorporation...
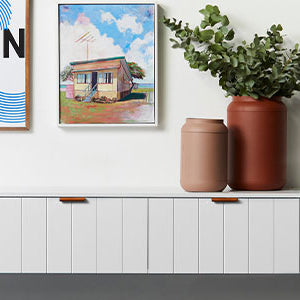
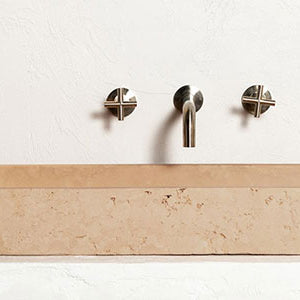
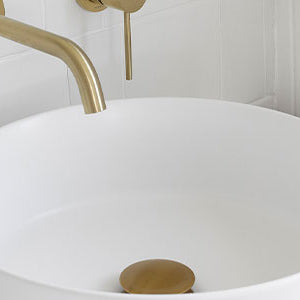
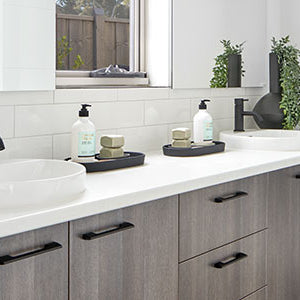
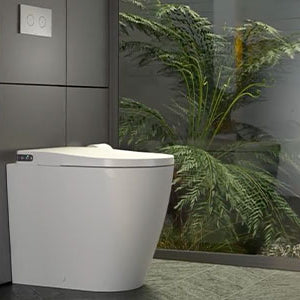
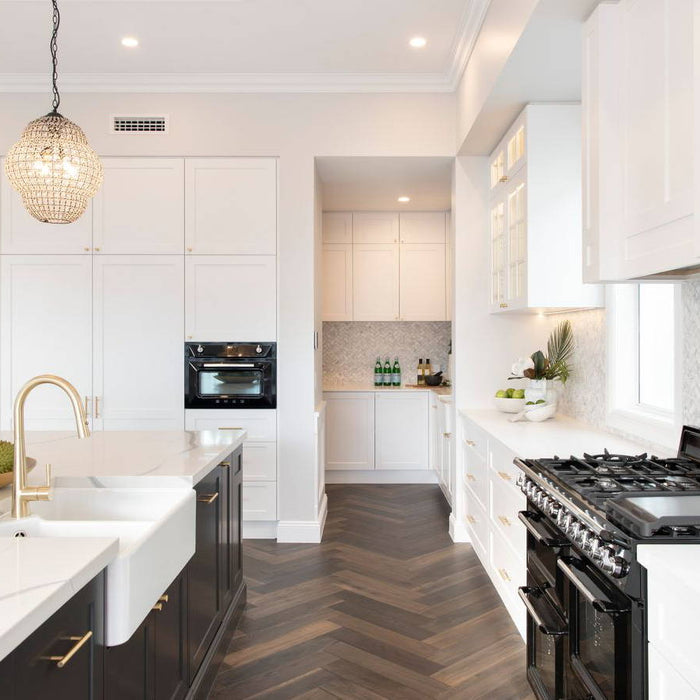

Create a Modern Hamptons Style Home and Bathroom Hamptons style homes are the epitome of luxury and relaxed coastal living. With exquisite attention to detail, this timeless style offers a fresh look that will never go out of style. Achieving...

Cam and JulesEnsuite Bathroom Reveal "When it comes to bathroom design, balancing functionality and style is key, especially in a long, narrow space like this ensuite. Working with Cam and Jules on this project allowed us to showcase innovative solutions...

Front Porch PropertiesThe Grange Project "We adore the Phoenix Cromford tapware collection – its modern classic charm flows seamlessly throughout our entire home. It perfectly captures the essence of our style, bringing the timeless elegance of a modern English cottage...

Jules and CamFeminine Chic Bathroom Reveal We're thrilled to unveil one of our most inspiring projects in collaboration with Jules and Cam – the feminine and chic bathroom in Jules' dressing room. This standout space combines elegance and a soft,...
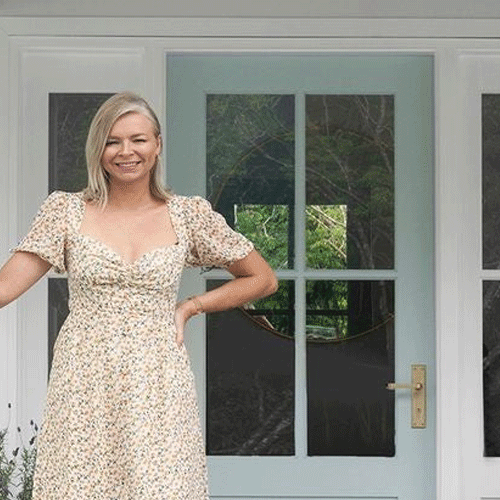
Front Porch PropertiesAshgrove Project Collaboration with The Blue Space x Phoenix Tapware Project Summary We recently had the pleasure of speaking with Rachael Turner from Front Porch Properties about her latest endeavor, the Ashgrove project. During our conversation, we...

Cam & Jules x The Blue Space Transforming a family bathroom into a beautiful retreat. This project takes a design-led approach, crafting a functional yet elegant space that caters to the needs of a busy family while maintaining a refined...

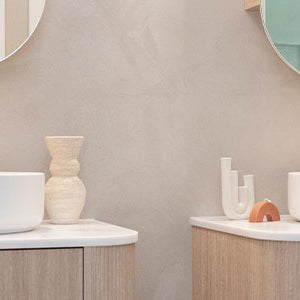
Visit Benji Marshall’s Main Family Bathroom If you're in search of bathroom inspiration, look no further than Benji Marshall’s family bathroom located in Hunters Hill, NSW. With its modern style and soft curves, this bathroom is sure to inspire your...

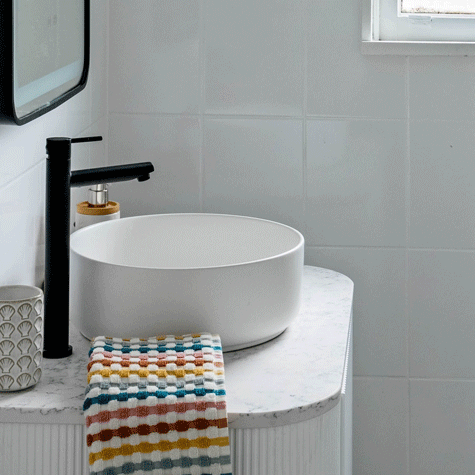
Small Bathroom Tips Jannali BathroomSelling Houses Australia "We transformed a rundown brown eyesore into a charming cottage" Wendy Moore, Selling Houses Australia The bathroom in this Jannali house was straight out of the 1980s and desperately needed a makeover. Being...
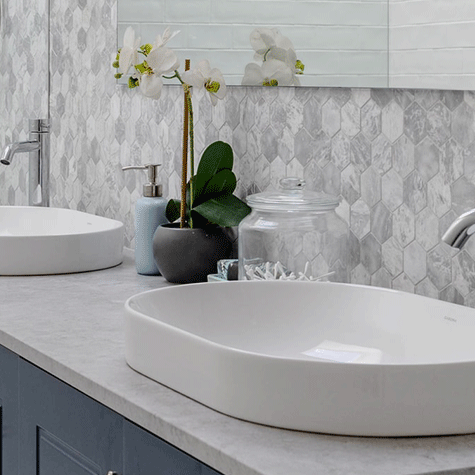
Selling Houses AustraliaTurramurra Renovation "I had to steal some space from an adjoining wardrobe but we were able to squeeze in a double ensuite into the floorplan."Wendy Moore, Selling Houses Australia Pretty, and Practical In this inviting space, neutral...

Visit Benji Marshall’s Private Ensuite Bathroom Renovating a bathroom is a great way to add value to your home, and for NRL legend Benji Marshall, it was an opportunity to create a stunning ensuite bathroom that reflects his unique style....
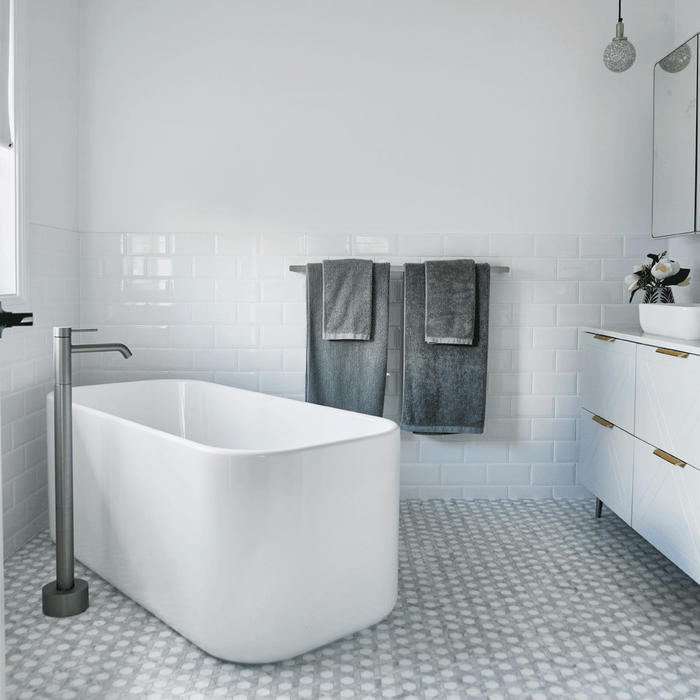
Selling Houses AustraliaWindsor Downs Renovation "Designing the perfect family bathroom is about more than just functionality; it's about crafting a space where every element harmonises to meet the needs of both parents and children."Michaela, Interior Designer, The Blue Space Geometric...
Front Porch Properties Graceville “Our collaboration with The Blue Space was pivotal, driven by their vast product range and exceptional service. This partnership ensured a smooth journey throughout the project, marking The Blue Space as an invaluable ally in our...
Branxton Bank Interior Designer, Naomi Findlay takes us on a journey through her latest project. "For this project, I adhered to a distinct style and colour palette, influenced by compelling elements. The chosen design aesthetic and the functionality of the...
Carrajung Estate Rebeka Morgan from BuildHer Collective takes us on a journey through her latest project. "It's been a really fun project because the infrastructure was there. We already had these 5 great houses, but we just had to renovate...

Emma Blomfield xThe Blue Space In May 2022, Emma acquired a dated apartment on Sydney's lower North Shore. Constructed in 1933, the residence bore traces of its art deco origins, which had been largely obscured or removed over time. Emma...

Visit Benji & Zoe Marshall’s Guest Bathroom Benji and Zoe Marshall, the ex-Tigers player now coach and popular media personality, have recently completed a stunning renovation of their guest bathroom. The couple opted for a hotel-inspired design that exudes sophistication...

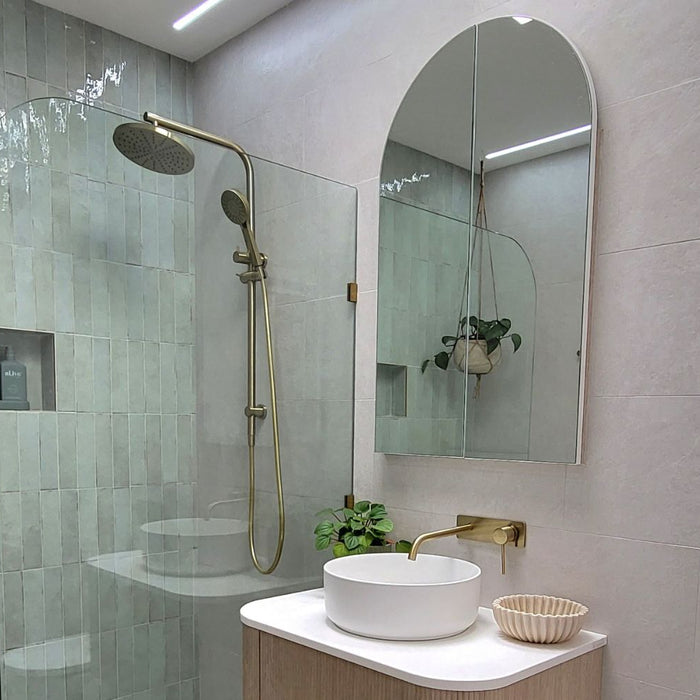
Style Sourcebook X The Blue Space Maximising style and space: 5 Design tips for a Small Bathroom "When I began my design journey, The Blue Space stood out as an essential element for realising my ideal space, offering a collection...


Glenorie Main Bathroom Scandinavian Style "This style is inviting and serene, combining practicality with an elegant, nature-inspired aesthetic. It’s perfect for creating a cosy yet polished bathroom retreat."Joanne, The Blue Space The Warmth of Natural Tones The fluted timber...

Glenorie Renovation Modern Minimalist "The Modern minimalist style balances practicality with a serene aesthetic, making it perfect for creating a tranquil and visually pleasing bathroom."Joanne, The Blue Space The Vanity & Shaving Cabinet The fluted Marquis cove vanity is...
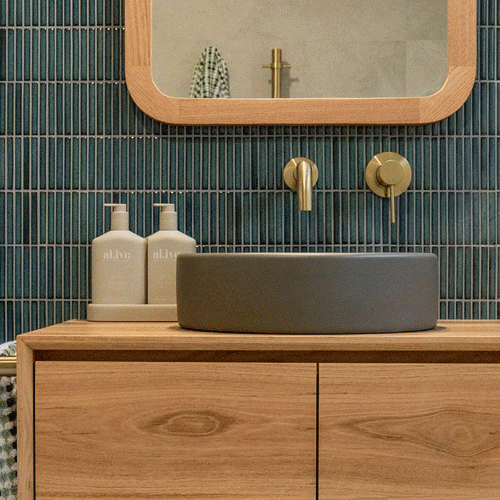
The Blue Space Coastal Bathroom The Modern Main Bathroom Renovating a main bathroom can be a daunting task, but with the right team and vision, it can become a seamless and rewarding process. At The Blue Space, we recently...
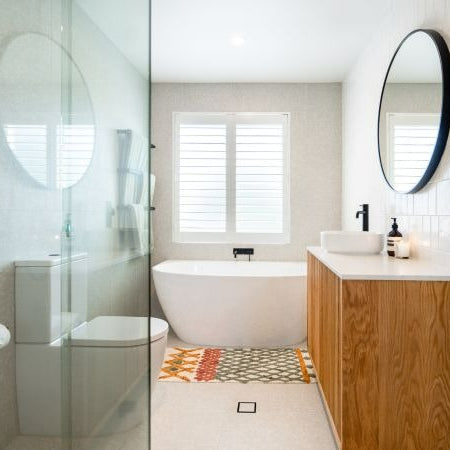
A Home Oasis Step into this newly renovated family bathroom and be transported to a world of modern boho luxury. From the sleek black tapware to the earthy timber vanity, this bathroom exudes style and comfort. The addition of...
